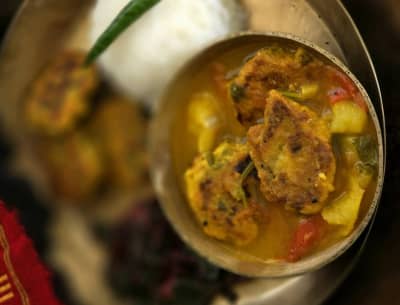
Traditional Gongura Mutton Andhra Style Spicy Recipe
A tangy and spicy mutton curry made with gongura leaves, a signature Andhra dish.
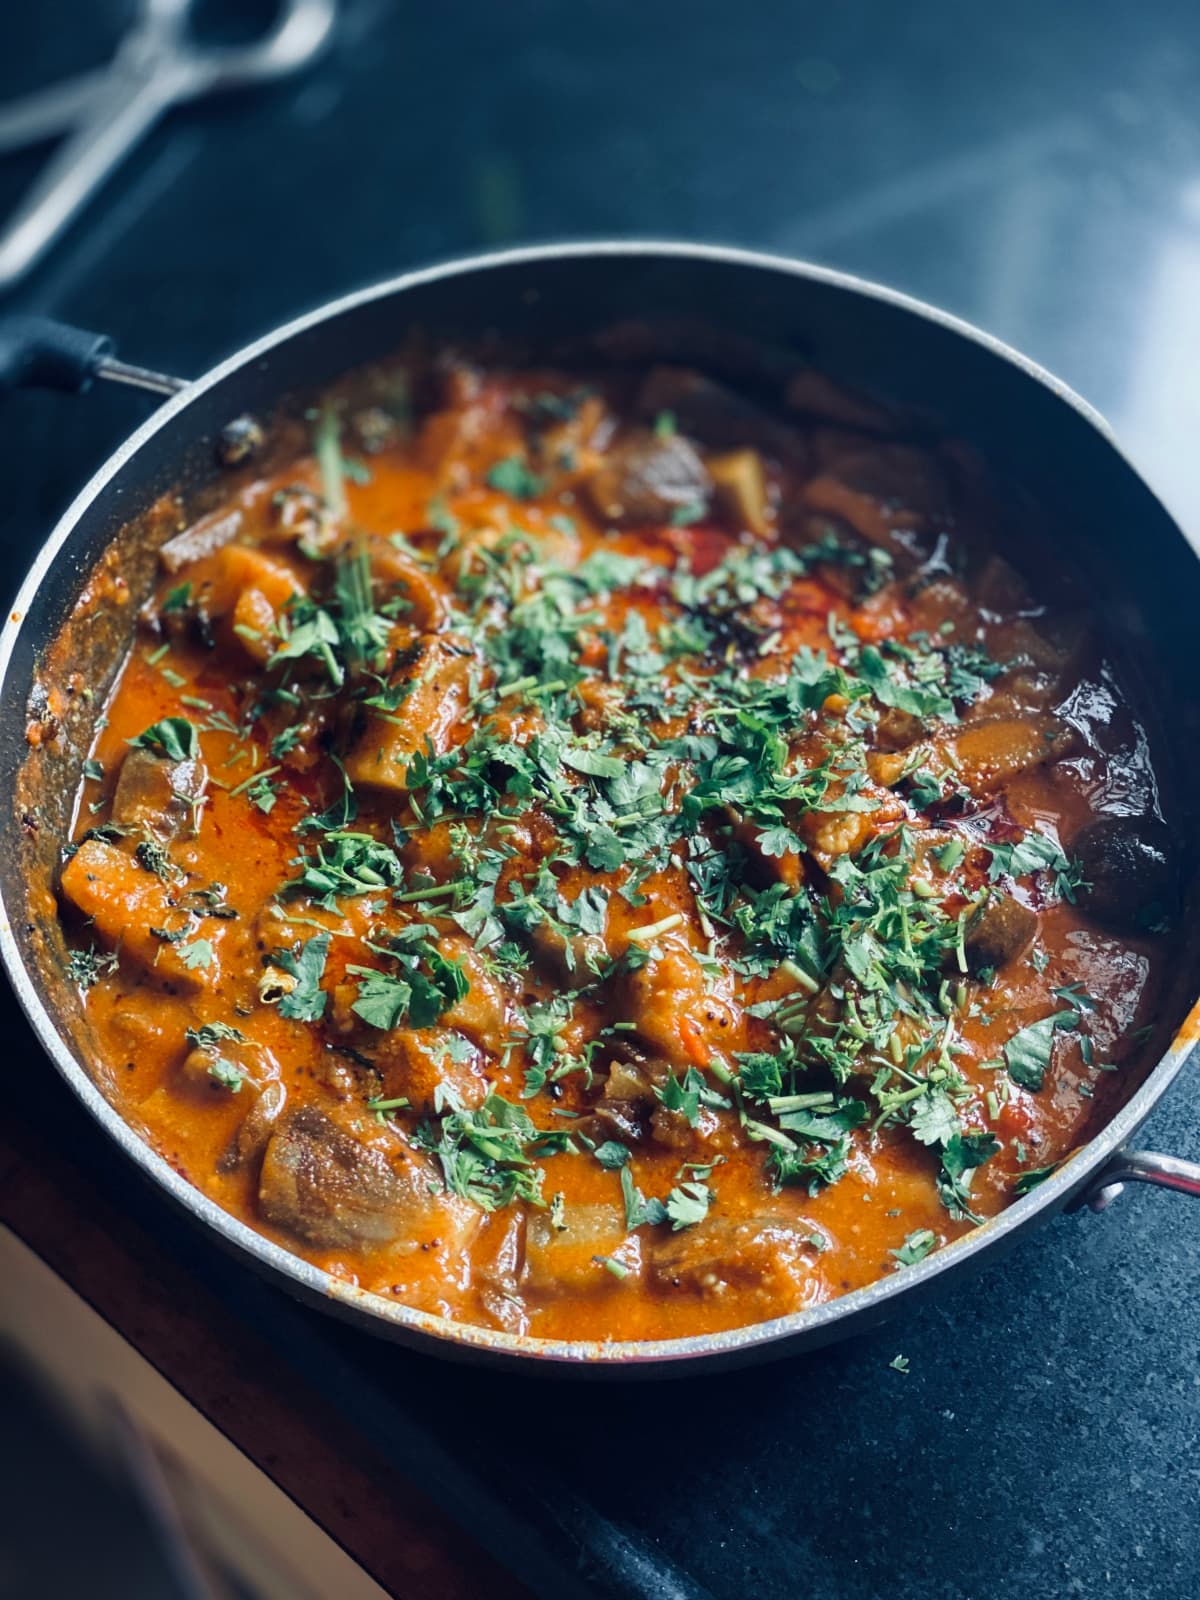
Gongura Mutton

ByKavitha
Quick Info
- Prep: 30 mins
- Cook: 1 hr
- Servings: 4
Ingredient Substitutes
- Mutton -> Tofu
- Gongura -> Spinach
Ingredients
- 500g mutton, cut into medium pieces
- 2 medium onions, finely chopped
- 2 tbsp ginger-garlic paste
- 2 green chilies, slit
- 10-12 gongura leaves, chopped
- 2 tsp red chili powder
- 1 tsp turmeric powder
- 1 tsp coriander powder
- 1 tsp cumin powder
- 3 tbsp oil
- Salt to taste
- Handful coriander leaves, chopped
- 1 cup water
Instructions
- Gather ingredients and equipment: kadai, knife, blender, spoons, bowls.
- Chop onions, slit green chilies, clean and chop gongura leaves.
- Heat oil in a pan, saute onions until golden.
- Add ginger-garlic paste, fry 2 mins.
- Add mutton pieces, fry until lightly browned.
- Mix in spices, stir well.
- Add gongura leaves, cover and simmer 40-45 mins until mutton is tender.
- Garnish with coriander leaves and serve hot.
From Raw Mutton to Tangy Andhra Perfection: The Complete Gongura Mutton Journey
Gongura Mutton is not just a curry — it is a carefully layered process that transforms tough meat and sharp leaves into a balanced, deeply flavorful Andhra classic. In Vijayawada and across Andhra Pradesh, this dish is often reserved for special meals because it requires patience, attention, and respect for ingredients.
Preparing the Mutton Correctly
Begin with fresh, bone-in mutton pieces. Bone-in cuts are preferred because they release marrow and natural juices during cooking, enriching the gravy. Wash the mutton thoroughly and drain it well. Excess water at this stage can dilute the masala later.
If time allows, marinate the mutton with salt, turmeric, and a little ginger-garlic paste for at least one hour. This initial seasoning begins breaking down fibers, making the meat more tender during cooking.
Handling Gongura Leaves the Right Way
Gongura (sorrel leaves) is the defining ingredient of this dish. Its naturally tangy profile replaces tomatoes in many Andhra recipes. The leaves must be washed carefully to remove grit and then chopped finely.
Unlike spinach, gongura has a stronger, sharper acidity. Cooking softens this sharpness and integrates it into the gravy. Proper cleaning and chopping ensure even cooking.
Building the Flavor Base
Heat oil in a heavy-bottomed pan. Temperature control is critical — too hot and spices burn; too low and onions sweat instead of caramelizing.
Add chopped onions and cook them slowly until golden brown. This caramelization stage builds sweetness that balances gongura’s tanginess. Rushing this step results in a flat-tasting curry.
Next, add ginger-garlic paste and cook until the raw smell disappears. This ensures depth without harshness.
Browning the Mutton
Add mutton pieces directly into the onion base. Let them sear slightly before stirring continuously. This browning process creates flavor compounds through surface caramelization, enhancing the final taste.
Once lightly browned, add turmeric, red chili powder, coriander powder, and cumin powder. Frying spices in oil at this stage activates their essential oils, making the curry aromatic rather than powdery.
Introducing Gongura
Now add the chopped gongura leaves. At first, the leaves may seem bulky, but they wilt quickly. Stir them into the mutton mixture and allow them to cook down.
Cover and cook on low heat. Gongura releases moisture and blends into the masala, thickening the gravy naturally without needing additional thickeners.
Slow Simmering for Tenderness
Add a measured amount of water and allow the curry to simmer gently for 40–45 minutes. Low heat is essential. High heat can toughen mutton fibers, while slow simmering breaks down connective tissue, making the meat tender.
Stir occasionally to prevent sticking, but avoid excessive stirring which can break apart the mutton.
The curry is ready when oil begins to separate slightly and the meat yields easily when pressed.
Final Balance and Resting
Garnish with fresh coriander leaves. Allow the curry to rest for 10–15 minutes before serving. This resting phase helps the tanginess mellow and allows spices to settle.
The finished Gongura Mutton should be thick, tangy, spicy, and deeply aromatic. The sourness should not overpower but complement the richness of mutton.
Serving the Traditional Way
In Andhra households, Gongura Mutton is best enjoyed hot with steamed rice. The rice absorbs the tangy gravy beautifully. It can also be paired with plain roti or paratha.
The next day, the flavors intensify further, making leftovers even more satisfying.
Tips & Variations
Marinate mutton for 1 hour for tenderness | Adjust chili according to taste | Cook slowly on low heat for rich flavor.
You will love it
This Gongura Mutton combines tender mutton pieces with the tangy flavor of gongura (sorrel) leaves, simmered in a spicy Andhra-style gravy. Perfect with steamed rice or roti for a hearty meal.
Serving: Best served hot with steamed rice or roti.
Storage: Refrigerate 2 days; freeze up to 3 days
Tools Required
FAQ
Can I use boneless mutton?
Yes, boneless cooks faster but bone-in adds more flavor.
How tangy is this dish?
Tangy but balanced; adjust gongura leaves to preference.
Can I cook in a pressure cooker?
Yes, reduce simmering time if using pressure cooker.
📝 From Our Kitchen
Gongura mutton is a favorite in rural Andhra households, especially during special family gatherings. The tangy gongura leaves balance the richness of mutton and are usually slow-cooked for maximum flavor.
— Kavitha, Cheffo Kitchen
More recipes from andhra-pradesh
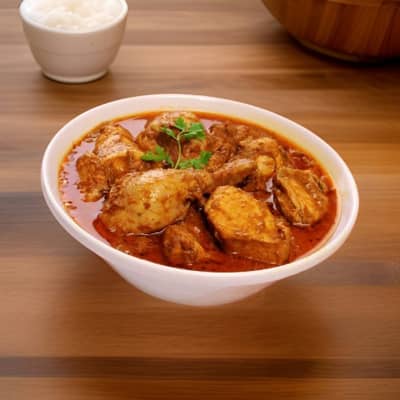
Andhra Chicken Curry
A spicy, flavorful curry from Vijayawada kitchens. Tender chicken is simmered in a base of caramelized onions, tangy tomatoes, and Andhra spices for a rich gravy.

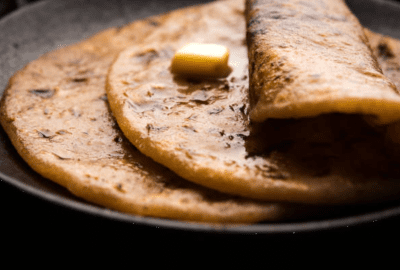
Pesarattu
A thin, protein-rich crepe from Andhra Pradesh made from whole green gram (moong); usually served with ginger chutney or stuffed with upma.
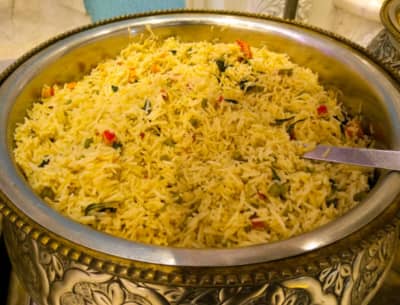
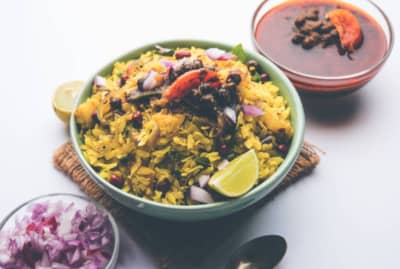
Pulihora
A tangy, spiced rice dish flavored with tamarind pulp, curry leaves, and tempered spices; a staple prasadam in Andhra temples.
Bobbatlu
A festive sweet flatbread stuffed with chana dal and jaggery, flavored with cardamom; a Ugadi and special occasion delicacy in Andhra Pradesh.
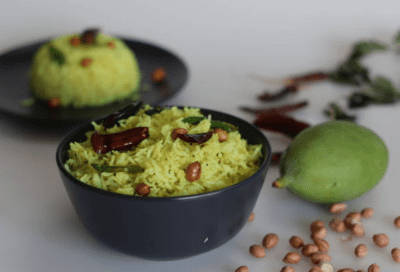
Lemon Pulihora
A tangy, refreshing rice dish flavored with lemon juice, curry leaves, and green chilies; popular as prasadam and travel food.
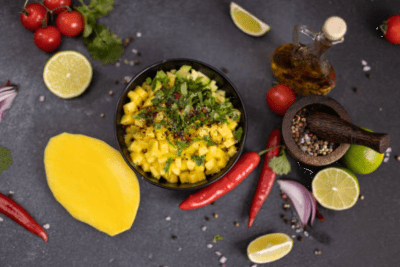
Mango Pulihora
A seasonal tangy rice dish made with grated raw mango, tempered spices, and curry leaves; a summer delicacy in Andhra cuisine.
Ugadi Pachadi
A symbolic chutney made with raw mango, neem flowers, jaggery, tamarind, and chili; represents all six tastes of life.

Ariselu
A traditional Andhra sweet made with rice flour and jaggery, deep-fried into round discs, prepared for festivals like Ugadi.
Explore other regional flavors from india
Discover traditional recipes from different regions across india, handpicked and refreshed every hour.

Kavitha
Founder & Publisher • Culinary Editor
Hi, I’m Kavitha — the founder of Cheffo. Cooking has always been close to my heart, especially traditional recipes passed down through families. Through Cheffo, I share authentic regional dishes with clear instructions and practical tips so you can recreate those comforting flavors at home.